So last year I came upon the most wonderful way of organizing our school materials, it worked so well for us that I'd like to share it with you. I wish I could tell you that this was my original idea, but I am more than happy to give the glory where it is due! It is called the "Avilian Home Learning Organization System". Unfortunately, the link that I have appears to be dead! So, here you will find my version of this wonderful idea - and if anyone can find a current link for the original idea, please let me know!
The basic idea is to take all your consumable materials, pull the books apart so that they are loose papers, then 3-hole punch them into a "Master Binder". Your child then gets his own binder with pocket dividers for each subject. You put a week's worth of assignments from your Master Binder into the front of that subject's pocket divider in your child's binder, and when the child completes the work, he moves it to the back pocket of the divider. It's rather complicated to explain, so I will break it up and give you some pictures of how I'm doing it. We'll start with The Master Binder.
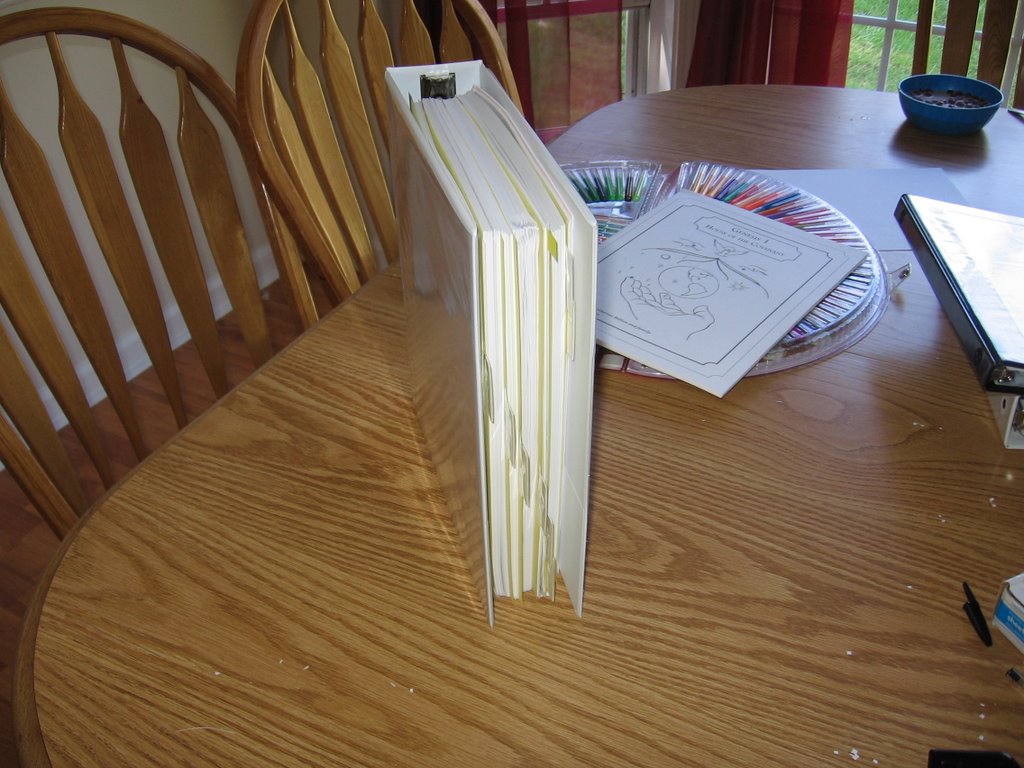
Here is a picture of the supplies at my table as I began the process this afternoon:
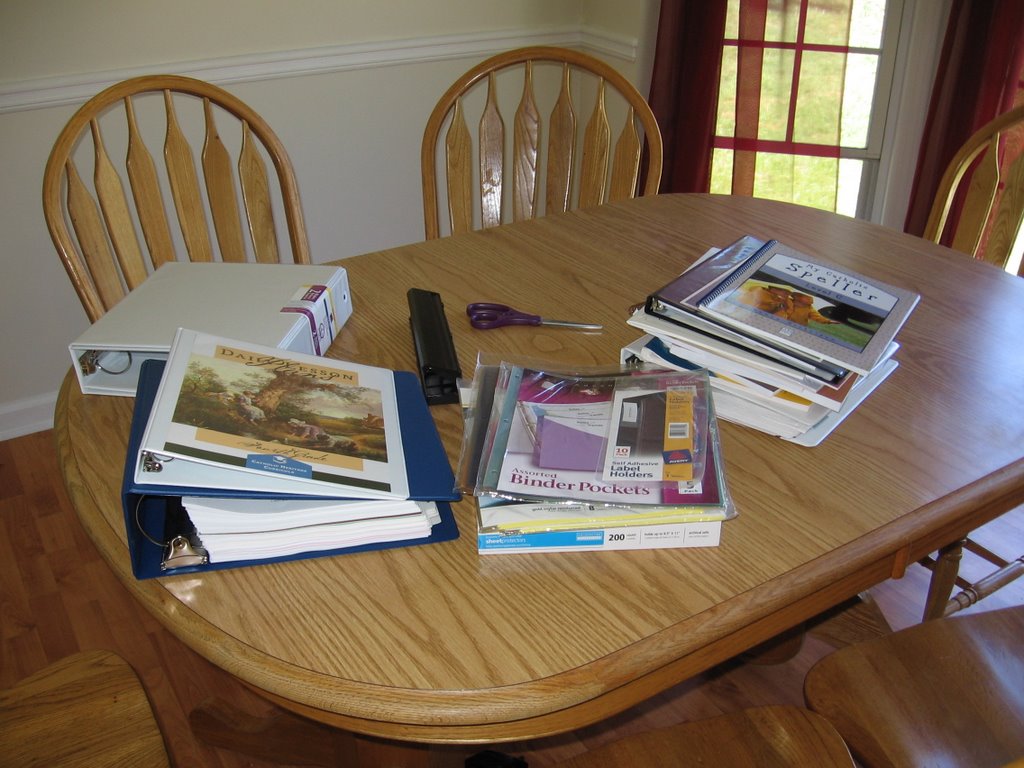
I have my lesson plans from Sonlight and CHC, an empty 2.5" binder that will become my master binder, my 3 hole punch, my scissors, some index dividers (and the pocket dividers that I will use for J1's binder later) and my consumable books for J1 this year.
The first step is to label your index dividers and put them into the Master Binder. For J1 this year I ended up with 10 tabs. Religion, Latin, Grammar, Spelling, Handwriting, Geography/Map Skills, Science, Art, Reading, History.
I don't have consumable materials for History or Religion this year, but I left space for them in my Master Binder because I use the binder as a record of our work. J1 will have narration sheets, book reports, and other materials he will create for me in these subjects, and I like to have a place to put them.
You will also notice that math is conspicuously missing from my Master Binder. I find that math simply takes up too much space to put with the other subjects in my Master Binder, so Math has its own, seperate Master Math Binder.
So, now I've created my index tabs. The next step is to begin tearing apart your books. I know - it is SO painful! I almost couldn't make myself do it last year! But, I just grit my teeth and push forward. Depending on the type of book, there are several ways to go about this. If I had a lot of time and/or money, I might take my books to Kinkos, or OfficeMax, and have them just cut off the binders for me. I have heard of people who do that with great success. For myself, though, I just use my scissors, for the most part! The comb bindings from CHC are fairly easy to pull apart. I just take out the comb, then cut the jagged edges with scissors like so:
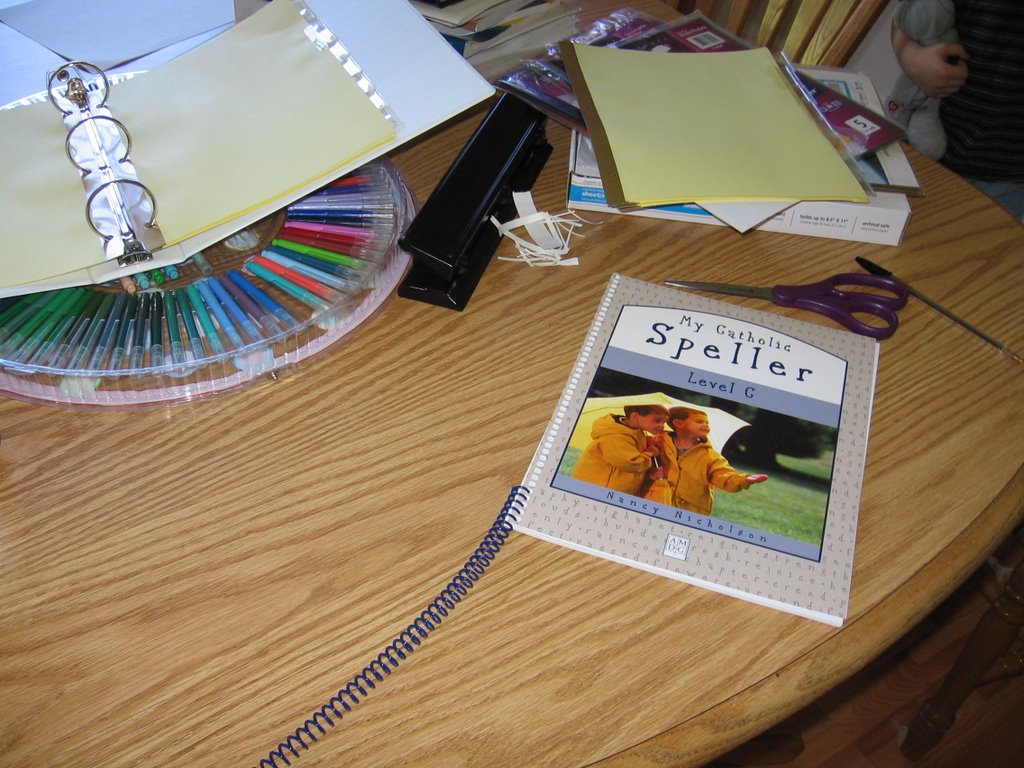
Then, I 3-hole punch the entire thing, usually in batches of about 10 pages for my current punch, and then put them all in the appropriate section in my binder. Other types of book require different treatment. Here are some other examples:
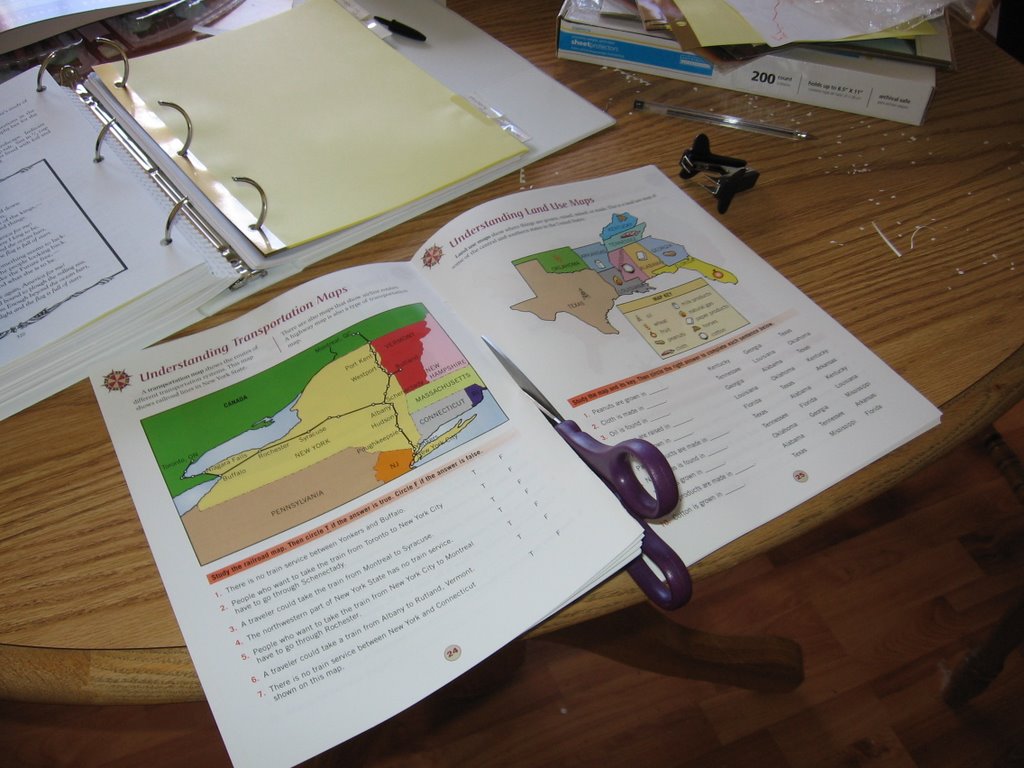
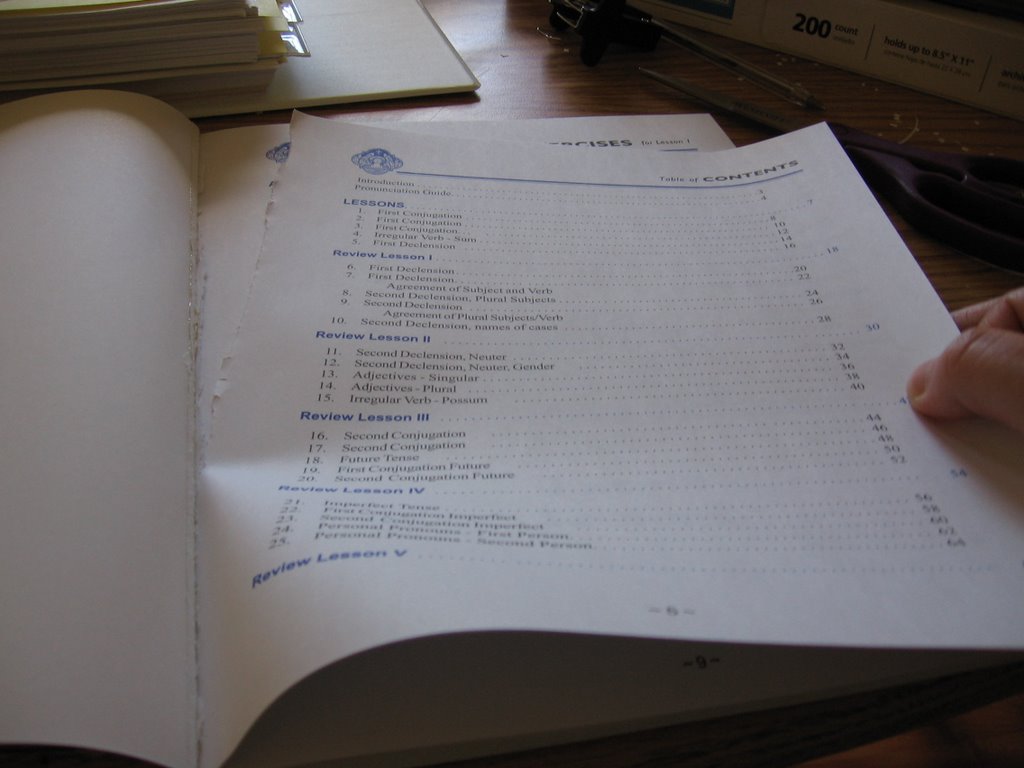
Really, I don't worry about being perfect. I just do the best I can, clean up the edges with my scissors as needed, 3-hole punch the pages, and get them into the binder. The very obsessive-compulsive side of myself just cringes when I do this, but I feel so good to get it done, and it works so well for us, I've learned to put aside those feelings of perfectionism - at least for this! :-)
So, when I'm all done, I have a very full binder with all of J1's consumable papers for the whole year. It takes a full afternoon of work to get this done, but it makes the entire rest of the year for both myself and J1 SO much easier I find it well worth the effort. Here is a picture of my finished Master Binder:
All I need to do now is put a insert into the front of the binder, and a label on the spine, and I'll be done for the year. It's about 3 hours of work (ok, 5 with all the interruptions! :-) for the entire school year - a bargain for me! :-)
Tomorrow I'll show you how I put together the child's binder for weekly assignments. J1 and and I just loved this last year!

No comments:
Post a Comment